

Forget the bright and airy filter!
DIY with me while I give my home a fresh new look. Changing the look of your fireplace can brighten up your home and make your living room look even larger! The best part is this upgrade you can do yourself and it's budget friendly!
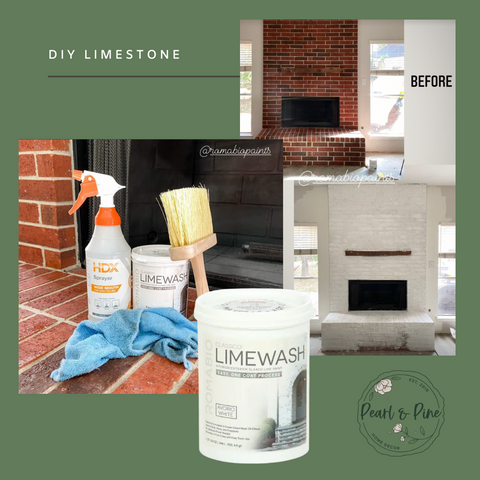
You will need:
1. Spray bottle with water
2. Rag
3. Masonry Brush
4. Limewash ( $35)
Prep: Wear gloves! This project can be messy! Be sure to wear gloves, a mask, and properly ventilate your space. Failure to wear gloves may result in chemical burns.
Step 1: Mix the limestone paint and water 1:1 in a large bowl or paint bucket. I used a whisk to mix, but a mixer on a drill would be preferred.
Step 2: Clean the brick with a rag and water (spray bottle). The surface needs to be slightly damp before painting. Start from the top and work your way down.

Step 3: Apply Limewash with your masonry brush. Starting from the top, apply water again to the surface of the brick using your spray bottle. Immediately after, use your brush to spread your Limewash mixture over the brick.

Step 4: (WITH GLOVES) Use your hands to spread out the mixture - you don't want it to be too thick for this look. Spread it around to your liking. You can add additional coatings within 5 days if you feel you didn't cover it to your liking.
Once it got tacky (approx 10-15 minutes after applying) I went over it with my hands (using gloves) to spread out any remaining thickness. You want to keep the texture showing through.
Depending on how much coverage you're wanting and the size of your fireplace, you may need to get two containers of the Limewash. I ran out just at the very end!
That's it! Let it dry and remember you have 5 days to determine if you want to add more or make changes to it unlike traditional paint.