


Shipping requires a lot more than people realize! I created this shipping organizers to better manage my thank you notes, business cards, stickers and other items I frequently use when packaging orders.
This is a cute and easy DIY for your business. You can watch the quick version of this tutorial here or check out the step-by-step process below!

You will need:
1. Lazy Susan or other organizer. I got this one from Amazon and it comes with different section options to best fit your needs!
2. Cricut (or another vinyl cutter) Mine is the Cricut Maker 3. You can find this at craft stores or through Amazon . If you do not already have a vinyl cutting machine, there are SO MANY uses for this! You can create t-shirts, decals, stickers and more with this machine.
3. Vinyl - I chose the Cricut Smart Vinyl in black but you can use another permanent vinyl in any color you'd like! You do not need much of it for this project, even scraps will do!
4. Transfer tape - Again, you do not need much and you can reuse a small piece of transfer tape for each word!
5. Weeding tools - You will need some sort of weeding tools or tweezers to remove the outsides and insides of the letters. You will also need some sort of scraper to smooth out the transfer tape, but another smooth surface such as a credit card.

Open your design space for the vinyl cutter. In this case, I used Cricut Design Space to design my labels. You can also design in a graphics program such as Illustrator, Photoshop or even Canva, and upload them to the design space. If you do this, make sure you are using high res pngs so it can easily identify what needs to be cut!
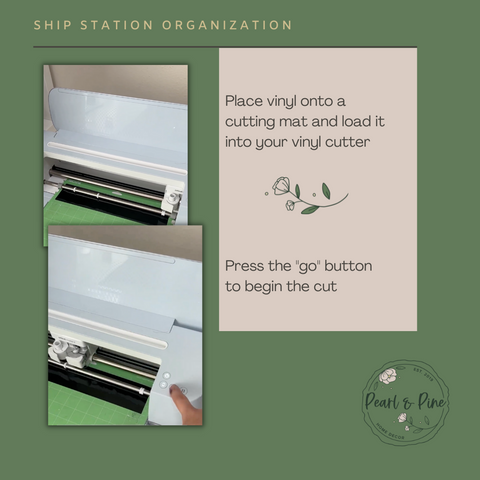
When working with the vinyl cutter, you will have different levels of sticky cutting mats. The one you use will depend on the type of vinyl you end up with. I am using a regular adhesive mat here.
Cut a small piece of vinyl just larger than your word size and carefully line it up on the mat starting in the far left corner. If you're used to working with different types of vinyl such as a heat transfer vinyl, please note that this is not a mirrored image and the vinyl can be placed face up.
Feed it into the machine and press go to cut!
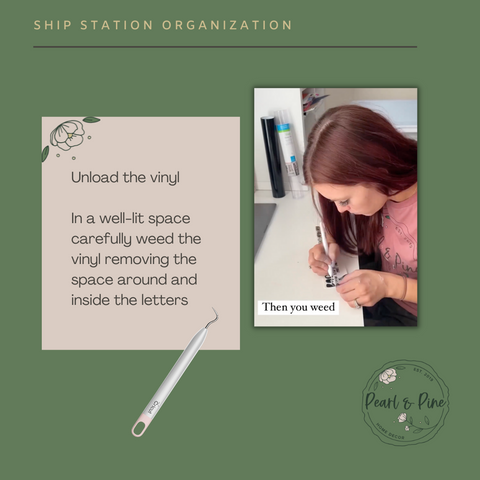
Once the word is cut, unload the vinyl from the machine and remove it from the mat.
In a well-lit space weed the vinyl using your weeding tools to remove the vinyl surrounding the word and the sections inside of the lettering.
This part takes patience!

When your piece is weeded, cut a piece of transfer tape to match the size of the label.
Place the transfer tape to the face of the letters.
You will need to use a tool to smooth out the tape making sure there are no bubbles and making sure that the vinyl is now on the tape rather than the original backing.
Peel up the transfer tape, the clear tape should now have your letters attached to it.

Line up your label and stick it to the coordinating section.
Press firmly (you may need to use your scraper tool) to adhere the label.
Remove the transfer tape.

Repeat as needed!